Complete Sewing Tools & Equipment Guide: 35+ Essential Items
Having the right sewing tools transforms your projects from frustrating struggles to enjoyable creative experiences. This comprehensive guide covers 35+ essential tools every sewist needs, from basic scissors to professional-grade equipment. The difference between a frustrating
sewing experience and one that flows smoothly often comes down to using proper, well-maintained tools designed for the task at hand.
The Hidden Cost of Poor Sewing Tools & Equipment
Many newcomers to sewing make the mistake of starting with bargain-bin scissors, dull needles and inaccurate measuring tools, only to discover that these 'money-saving' choices actually cost them more in the long run. Poor-quality tools lead to:
- Uneven cuts that create puckered seams and crooked hems.
- Fabric damage from dull blades that snag and tear delicate materials.
- Measurement errors that result in ill-fitting garments requiring extensive alterations.
- Increased project time spent fighting with tools instead of creating.
- Discouragement that can end promising sewing journeys before they truly begin.
Essential Measuring Tools for Sewing
These form the foundation of every project, ensuring accurate pattern creation and garment fit. From flexible measuring tapes for body measurements to rigid rulers for straight lines, these tools determine whether your finished project will fit as intended.
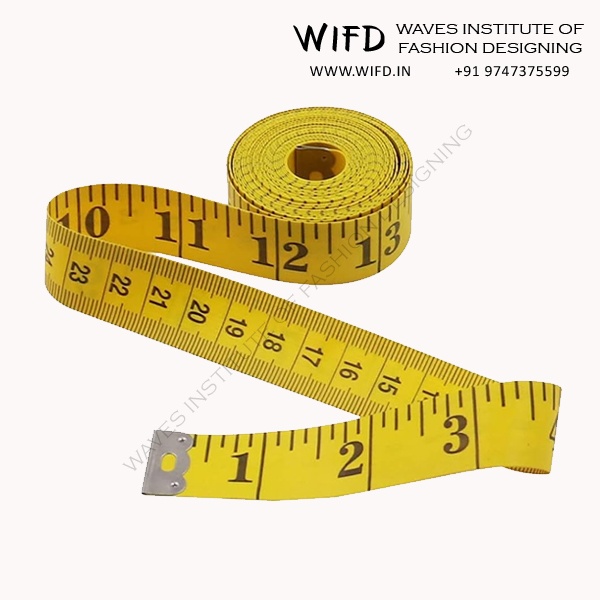
Measuring Tape
This 60-inch flexible tape features metal ends and dual measurements (inches/centimeters), perfect for accurate body measurements and curved surfaces.
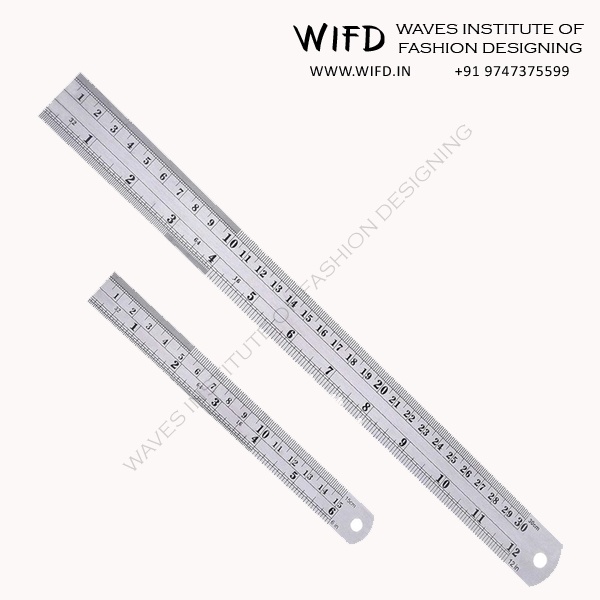
Tailor's Ruler / Scale
(Straight Ruler)
Made of wood, metal or hard plastic, usually 12 - 24 inches long. It has clear markings for centimetres and inches.
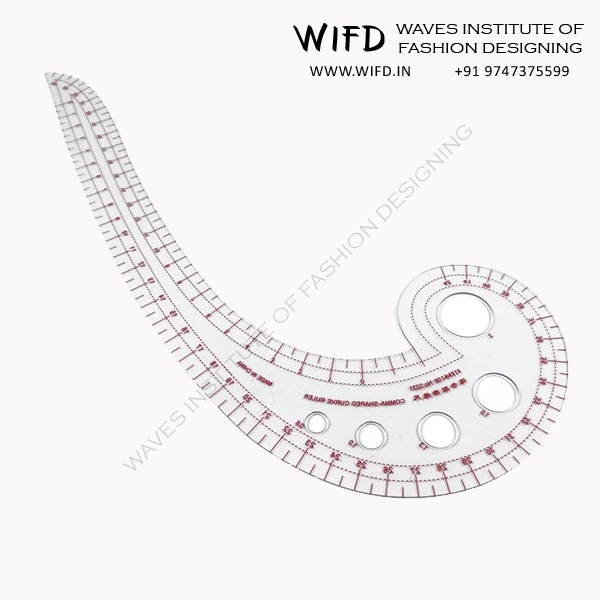
Tailor's Curve / French Curve
A curved ruler made of transparent plastic. It comes in different shapes and sizes to draw smooth curves like
necklines, armholes and sleeve caps accurately.
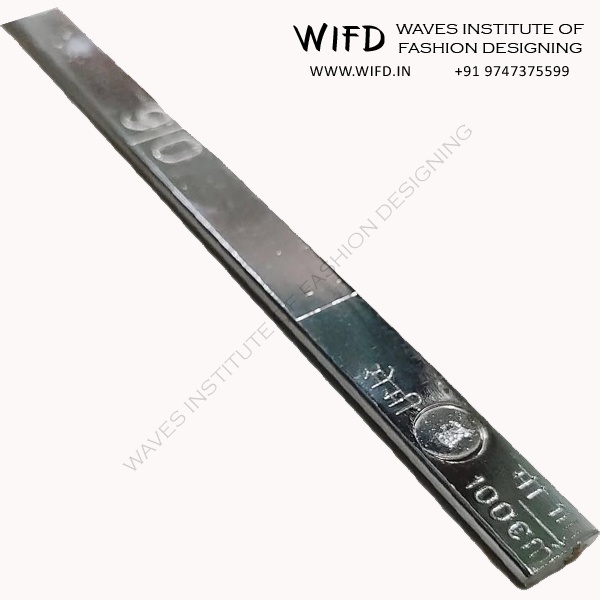
Meter Scale
It's a straight, rigid ruler that measures up to one metre (100 cm) in length. It's ideal for marking and checking long, straight lines on fabric, such as the length of
skirts or trousers.
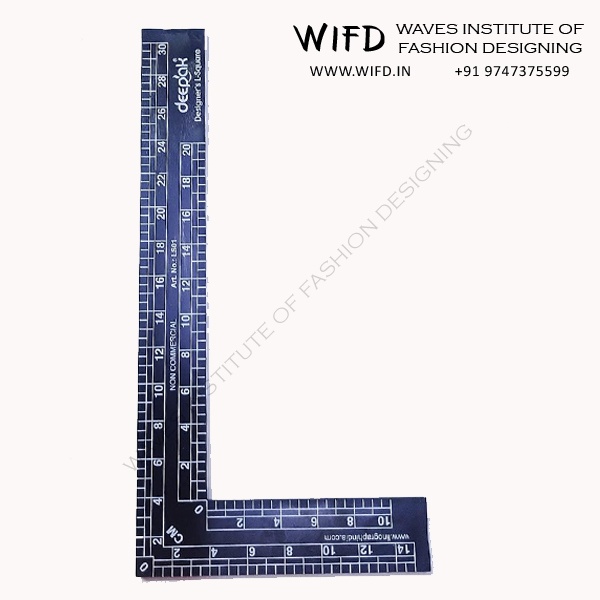
L-Square
This tool is an L-shaped measuring tool, usually made of wood or plastic, with measurements marked on both arms. It is used to form perfect right angles and mark straight hems, shoulders etc.
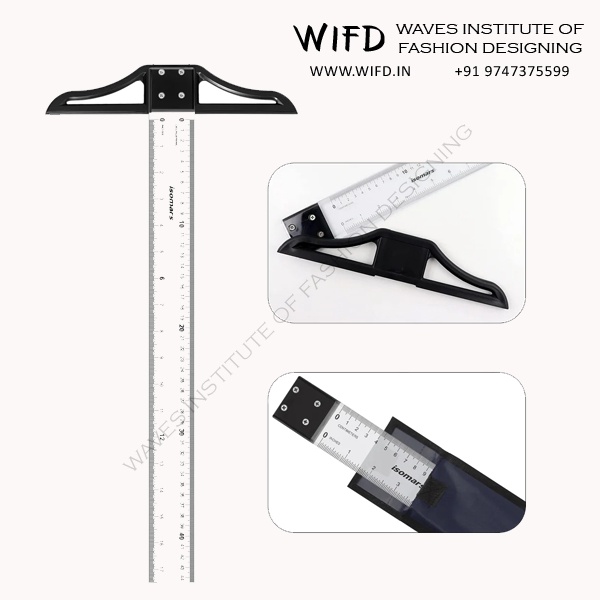
T-Square
A ruler with a fixed crosspiece at one end, allowing you to draw perfect right angles. This tool is essential for keeping pattern lines straight and well aligned.
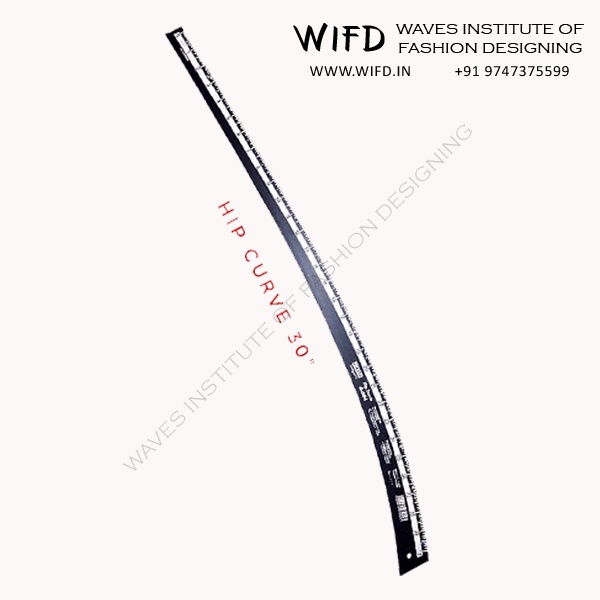
Hip Curve
A longer curved ruler that follows the natural contour of the hip and waistline. It is used to shape side seams and other gentle curves in skirt, pant or dress patterns.
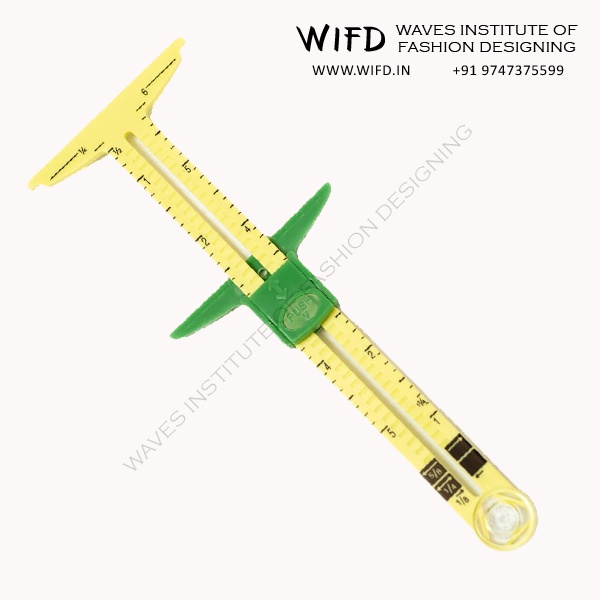
Hem Gauge
A small measuring tool with adjustable markers that help you fold fabric to an exact height. This tool is especially useful for keeping hems, pleats and tucks even.
Professional Marking Equipment
Before you can cut or sew, you need to transfer pattern markings, indicate seam lines and mark alteration points. The right marking tools leave clear, removable indicators that guide your work without damaging your fabric.
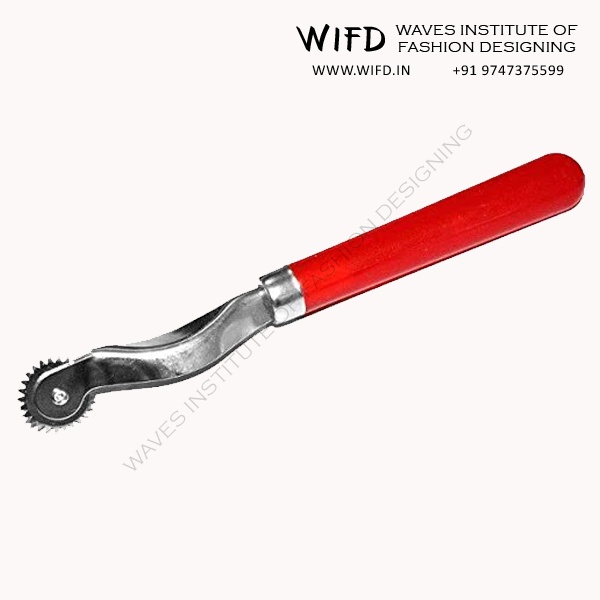
Tracing Wheel
(Pattern / Pounce / Dart Wheel)
It is a tool with teeth either smooth or serrated which is used to transfer markings from patterns onto fabric with or without tracing paper. This sewing tool also makes dotted perforations.
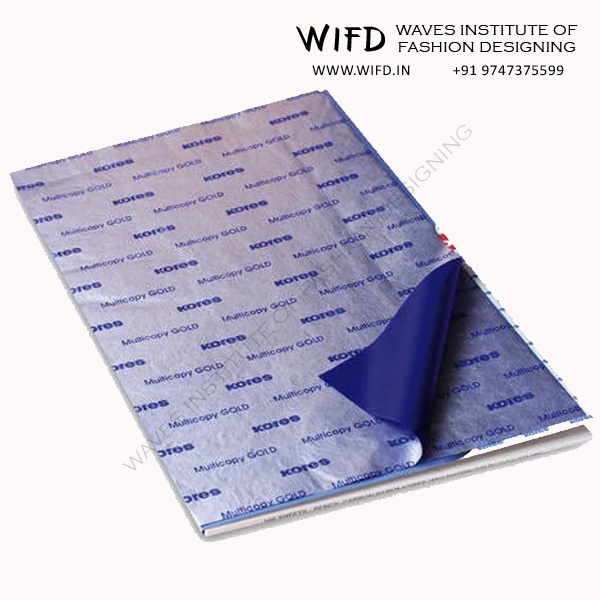
Carbon Paper
(Tailor's Carbon)
It is thin paper coated with coloured wax. When used with a tracing wheel, it transfers markings from a pattern to the fabric.
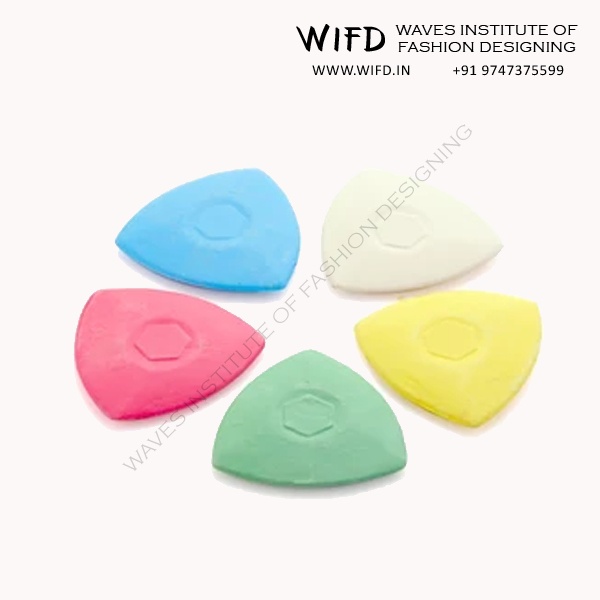
Tailor's Chalk
(Marking Chalk)
This tool is a small, flat piece made of clay or wax, available in different colours. Designed to mark
stitching and cutting lines on fabric and the marks can be brushed or washed off easily.
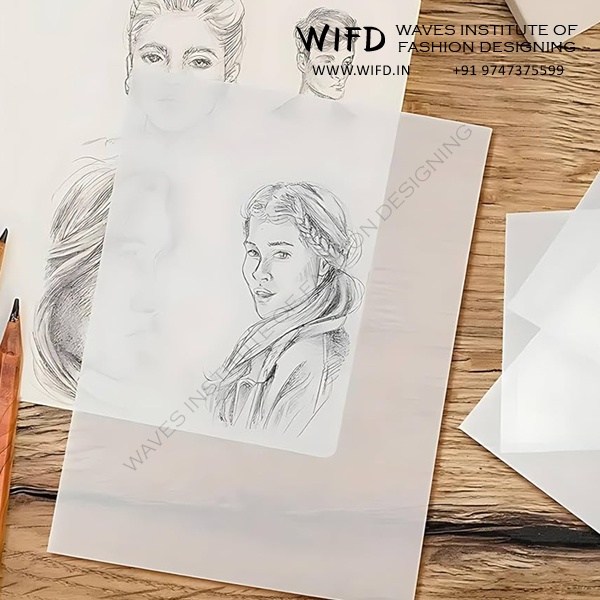
Tracing Paper
It is a semi-transparent paper used for tracing designs onto the fabric. At first you can trace an image on the tracing paper and then it helps you easily transfer the design or pattern on the garment.
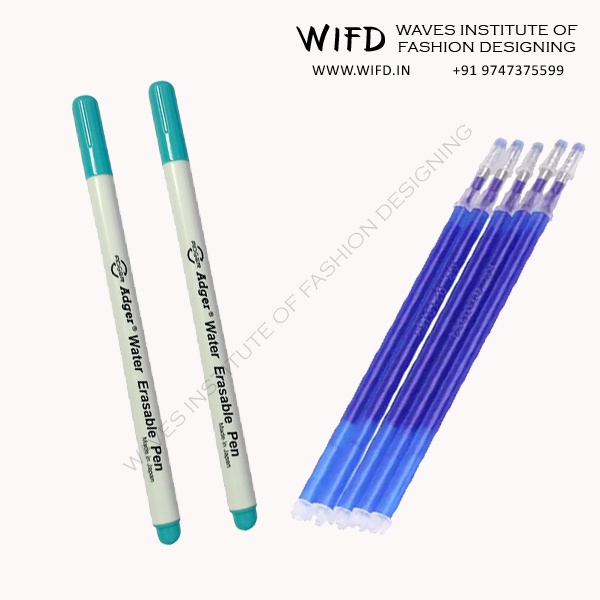
Frixion Pens
(Erasable Pen)
These pens are made of rubber cement and thermo-sensitive ink which make a crisp, clear mark on the fabric. The marks made by this clever ink turns transparent when subjected to friction or heat.
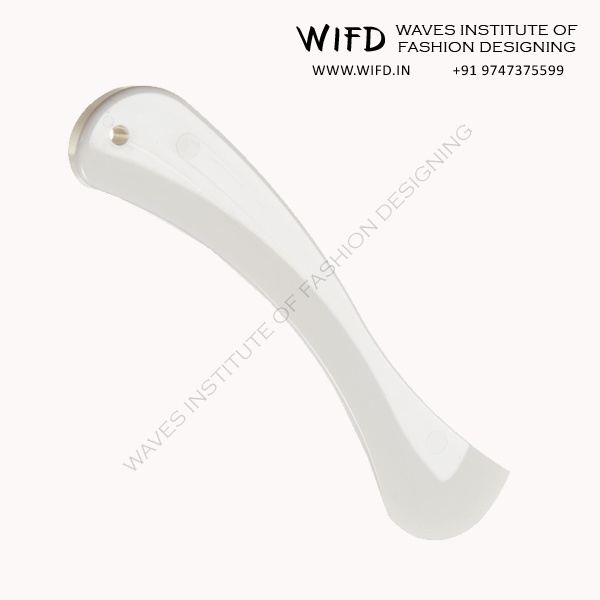
Hera Marker
A plastic tool that creases the fabric instead of using ink or chalk. The crease works as a guide for stitching.
Important Tools for Cutting
Perhaps the most critical category, cutting tools must be sharp, precise and appropriate for your fabric type. From delicate embroidery scissors to heavy-duty shears, each cutting tool has a specific
job that contributes to clean, accurate results.

Scissors
Scissors are designed for use in cutting, clipping or trimming delicate fabrics. They are lightly constructed and have straight slender cutting blades.
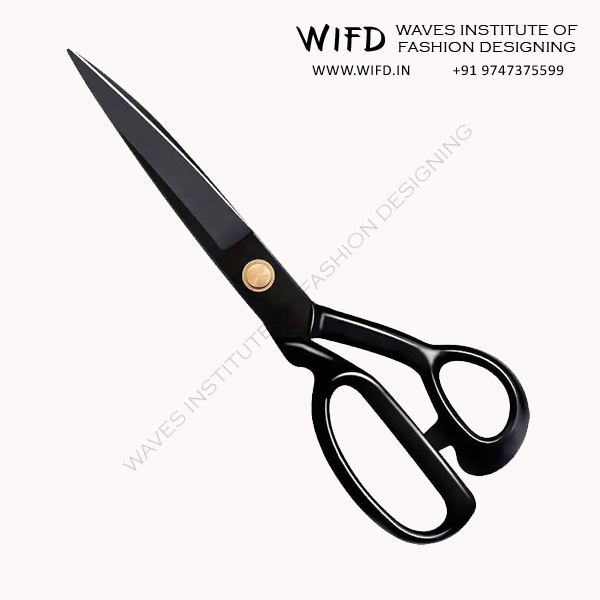
Tailor's Shears
Shears are heavily constructed for cutting the garment with ease. They are 6 - 12 inches long. They may be used on all weights of fabric. A Tailor's Shears can be sharpened when it starts losing its sharpness.
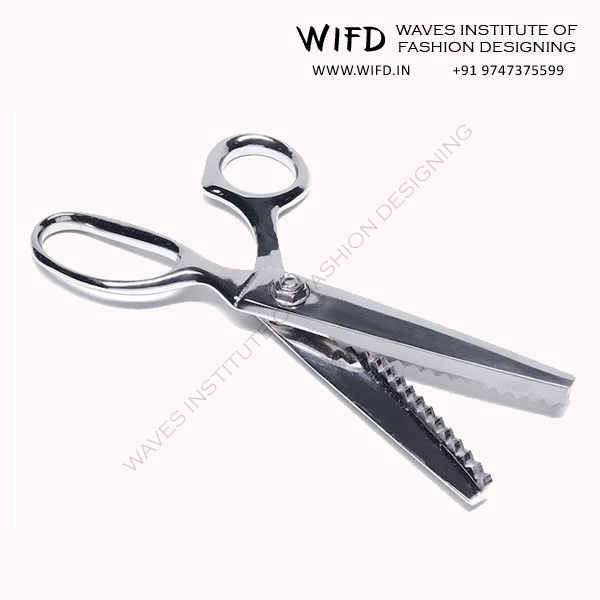
Pinking Shears
They are designed with blades which have notched edges. They are heavy in construction and are used for finishing of seams.
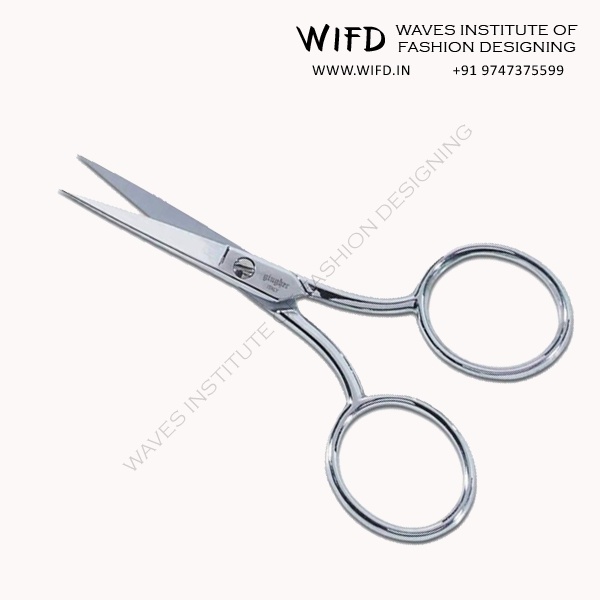
Embroidery Scissors
Embroidery Scissors are of short delicate construction which are used during embroidery. They are of 3 - 4 inches long with pointed blades.
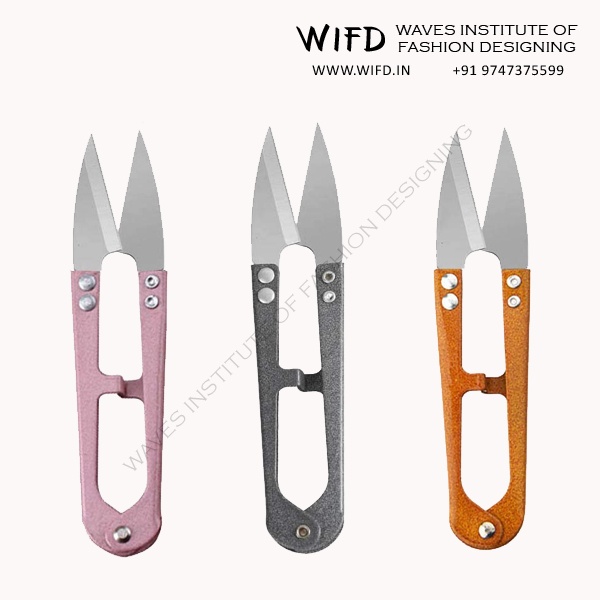
Thread Clipper
(Thread Snips)
Small,
spring-loaded cutters for trimming threads neatly after sewing or during cutting work.
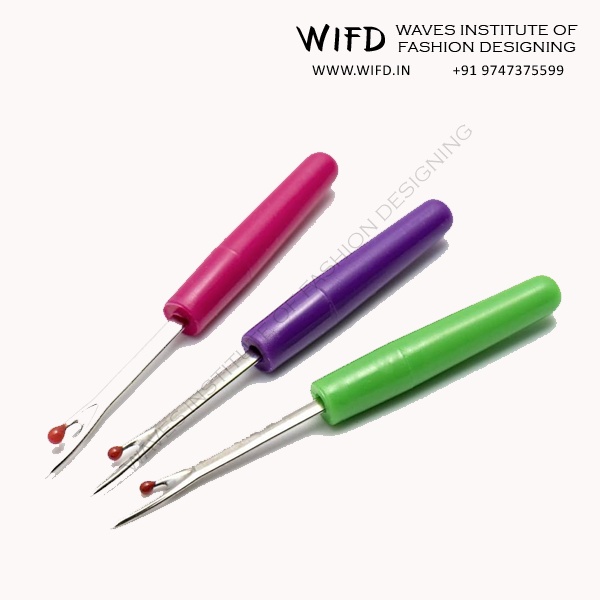
Seam Ripper
This is a pen shaped gadget with a small blade at one end for removing stitches. Use the blade to lift the thread away from the fabric before cutting. Be careful not to cut the fabric.
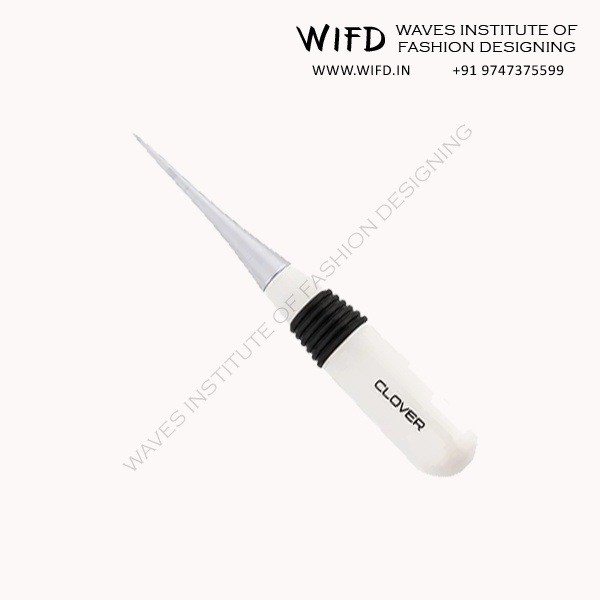
Tailor's Awl
A pointed tool used to make small holes in fabric without tearing it. It also helps mark positions for buttons, darts or pleats.
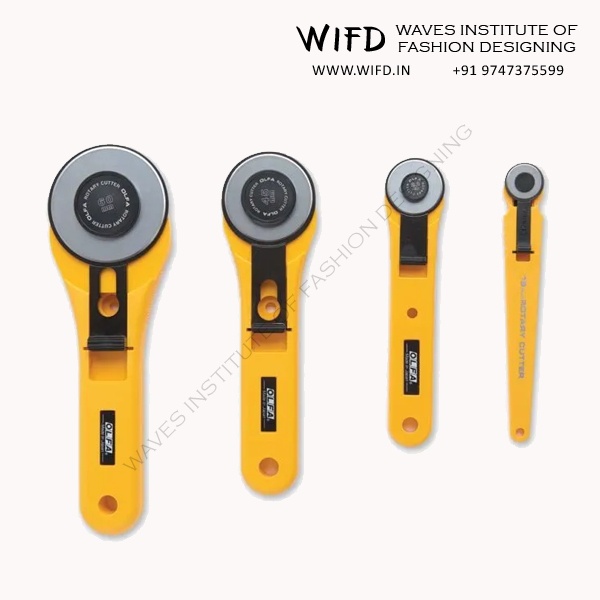
Rotary Fabric Cutter
It is a tool generally used by quilters to cut fabric. It has a circular blade that rotates while cutting. We get them in different sizes - 60 mm, 45 mm, etc.
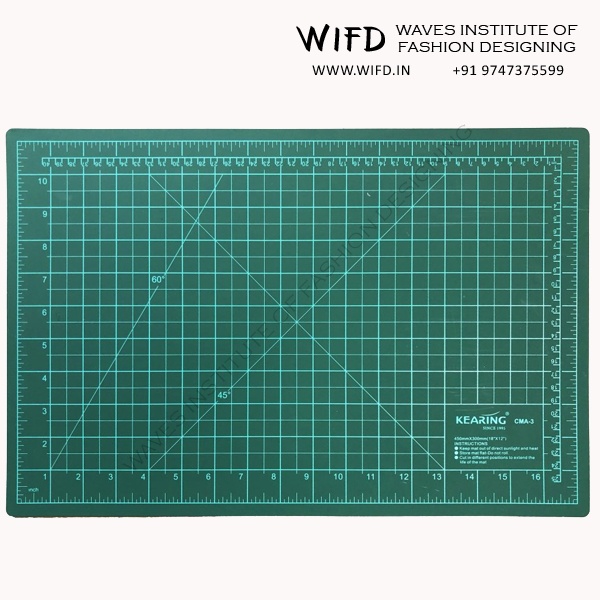
Self Healing Cutting Mat
Protect your table and cut fabric with rotary cutters. Lay the fabric on the mat and follow the measurement grid. Self healing cutting mat comes in different sizes. A-0 is the biggest size, then A-1, A-2 etc.
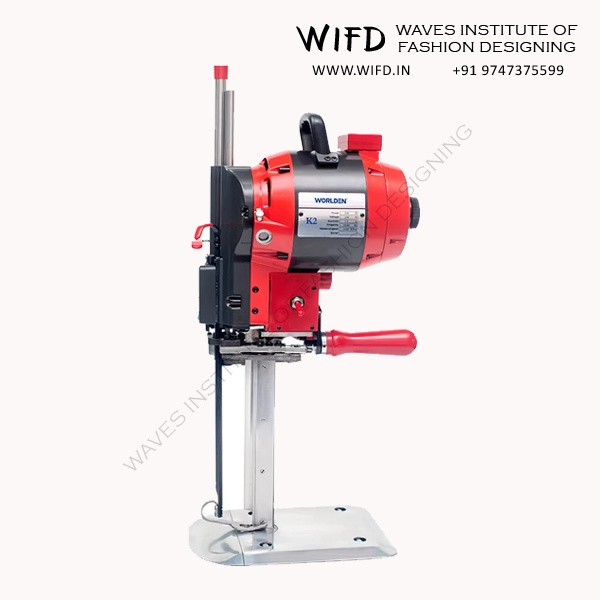
Electric Fabric Cutter
A powered cutting tool that slices through thick or multiple layers quickly, saving time in large projects.
Other Stitching Equipment & Accessories
These tools help you assemble your project, from needles and thread to pressing equipment that gives your work a polished, professional appearance. The quality of these tools directly impacts the durability and appearance of your finished pieces.
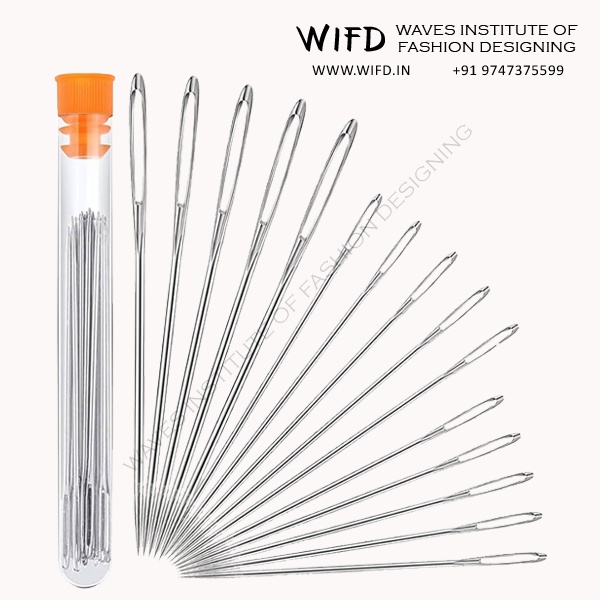
Needles
Needles come in different sizes. Needles should be selected according to the type of fabric, thread size and type of stitch. Small fine needles are used for small stitches such as in hems and hand gathering. Use fine needles for delicate fabrics and thick needles for thicker fabrics. Hand needles come in 1 - 12 sizes. Higher the number thinner or finer the needle.
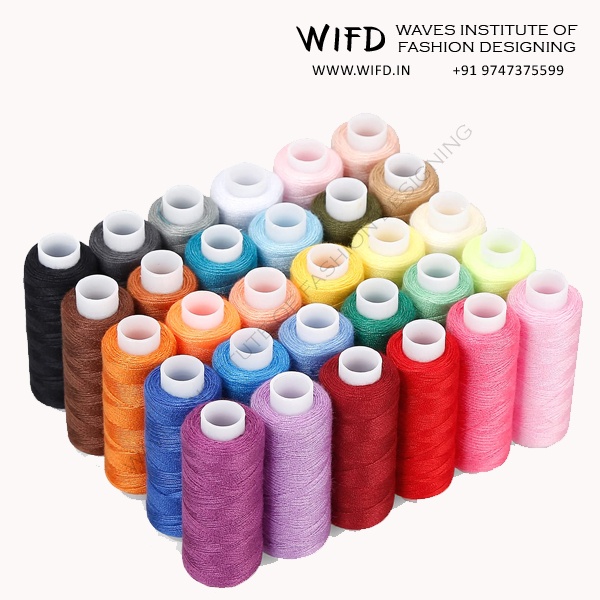
Threads
Thread comes in different kinds and sizes. Different kinds of threads are used for sewing, embroidery and tacking. Sewing threads come in different sizes from 20 - 100. Larger the number finer the thread. Selection of thread depends on the type of fabric. Fine fabric requires fine thread.
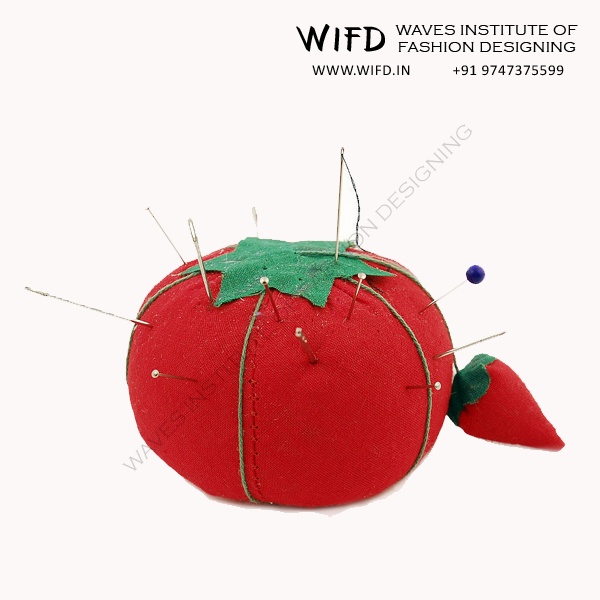
Pins & Pin Cushion
Sharp and fine pins are most suitable for use in
clothing. A pin cushion is typically filled with wool or cotton which is used for holding pins.
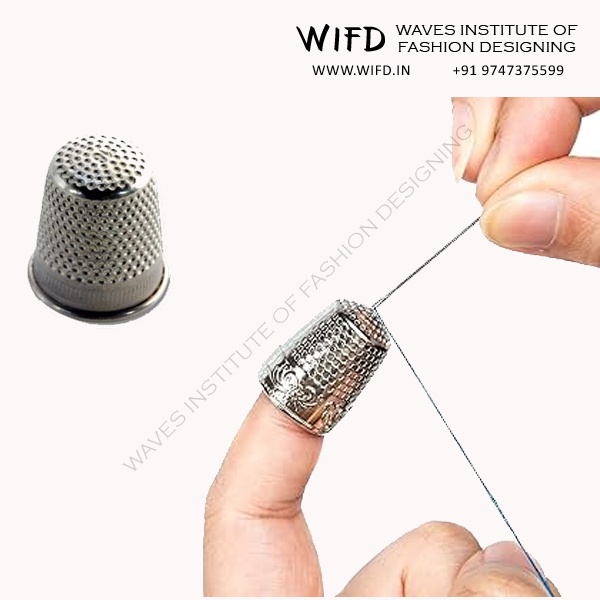
Thimble
Thimble helps in hand sewing. Perfect for directing the needle through the fabric and for protecting the fingers. Wear thimble on the middle finger of your sewing hand.
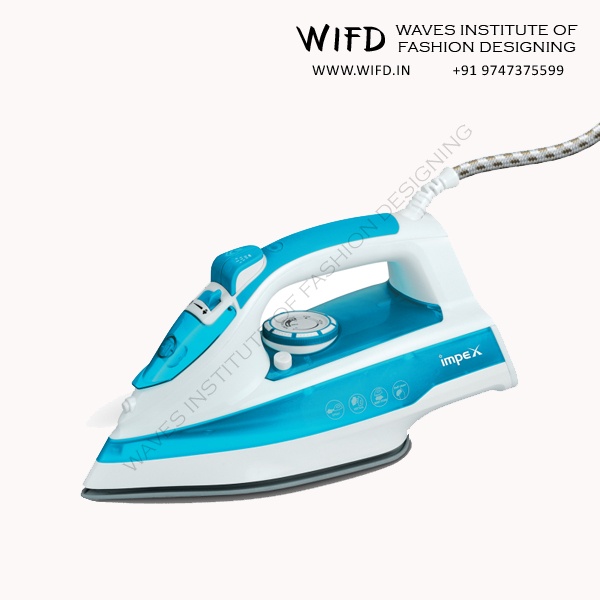
Iron Box
An electric iron that uses heat and sometimes steam, to press fabric. It smooths out wrinkles, sharpens creases and gives a neat finish to stitched pieces.
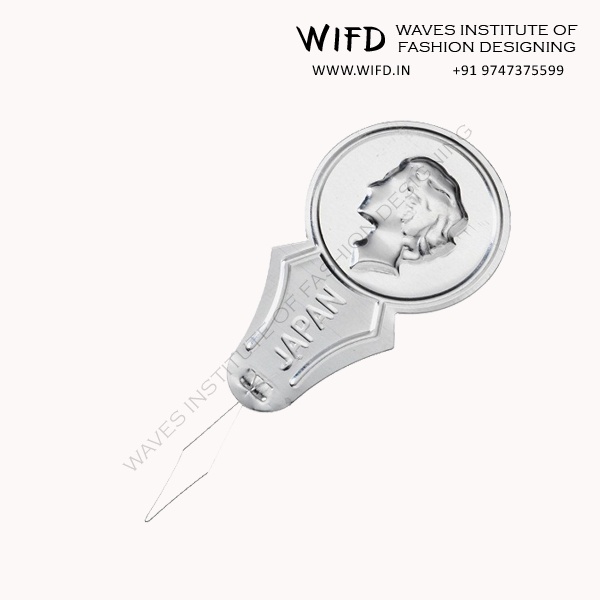
Needle Threader
This is a small device with a thin metal wire that helps you thread a needle.
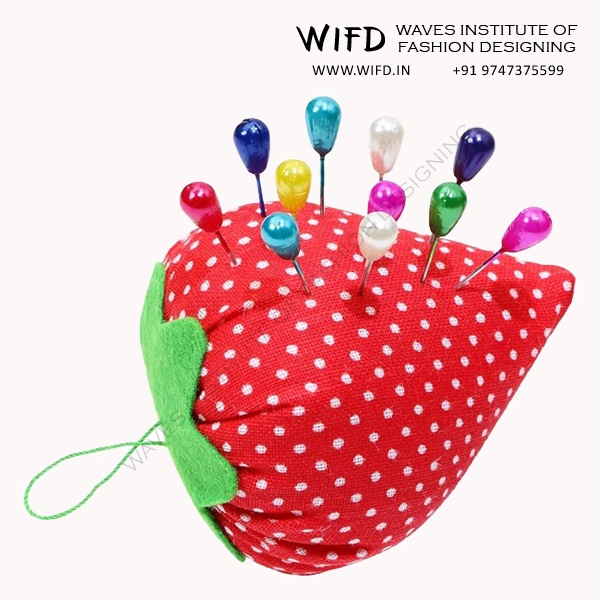
Emery Bag
Emery is a hard, granular rock composed primarily of aluminum oxide and iron oxides. This material is used to clean and sharpen sewing needles and pins by removing rust and dullness.
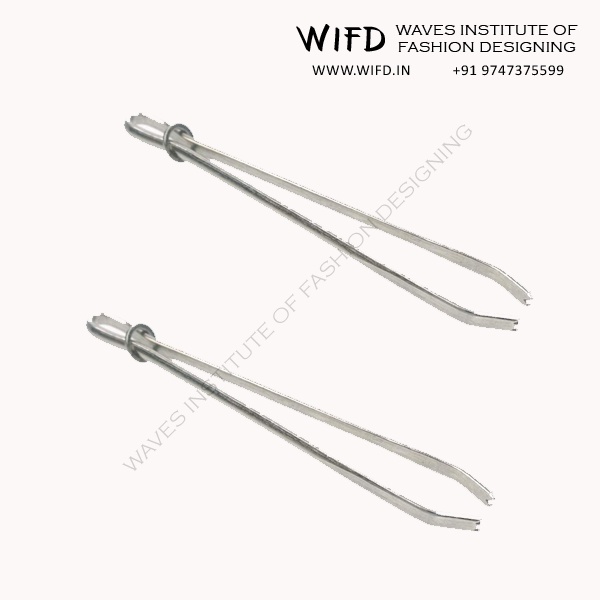
Bodkin
This gadget resembles a large, blunt needle and is used to pull cord, elastic, tape or ribbon through castings.
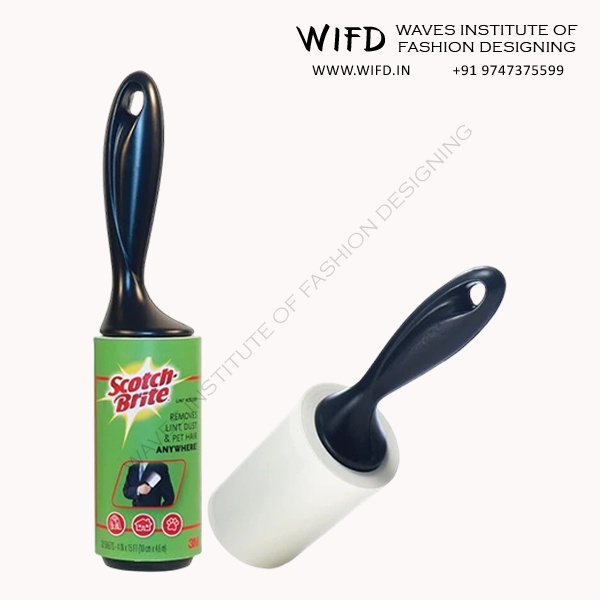
Lint Roller
This equipment is a roll with one sided adhesive paper that is mounted on a central spindle attached with a handle. It helps to remove lint and other small fibers from garments.
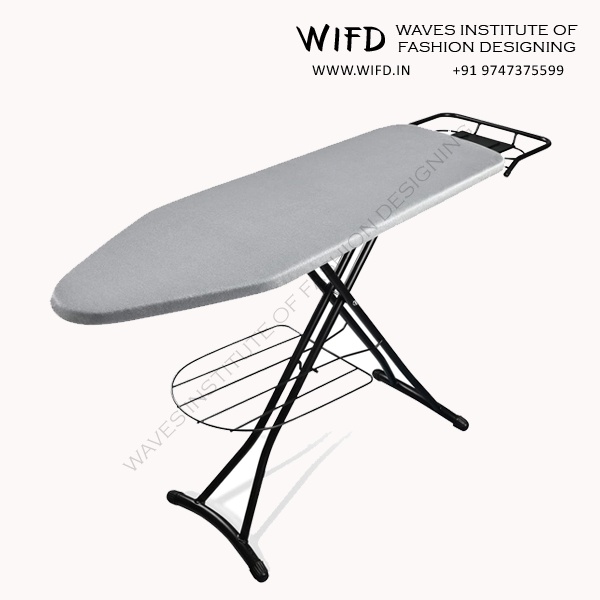
Ironing Board
A padded, heat-resistant table with folding legs that supports fabric while ironing. Lay the garment flat and press without damaging it.
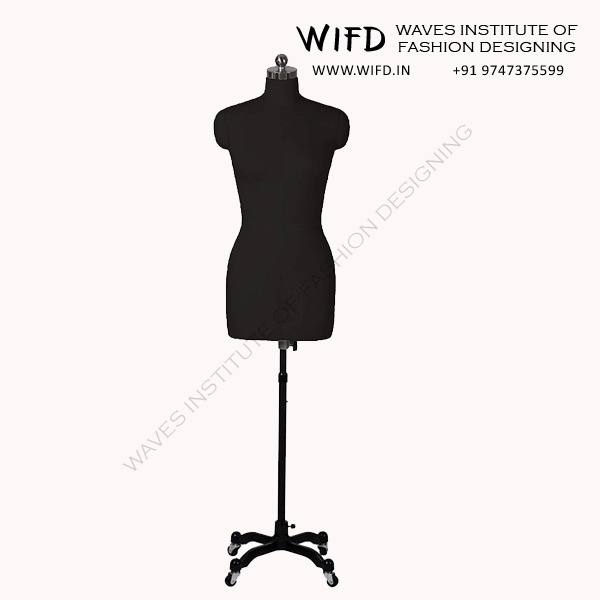
Dress Form
A life-sized model shaped like the human body, used to fit and drape garments. It helps you see how the fabric will fall, adjust patterns and make alterations with ease.
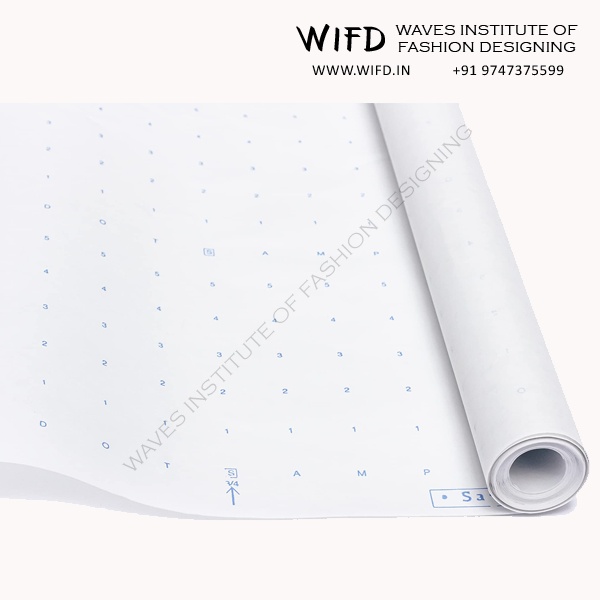
Pattern Paper
Special paper used to draw, trace and cut out garment patterns. It's lightweight yet sturdy, making it easy to pin onto fabric for accurate cutting.
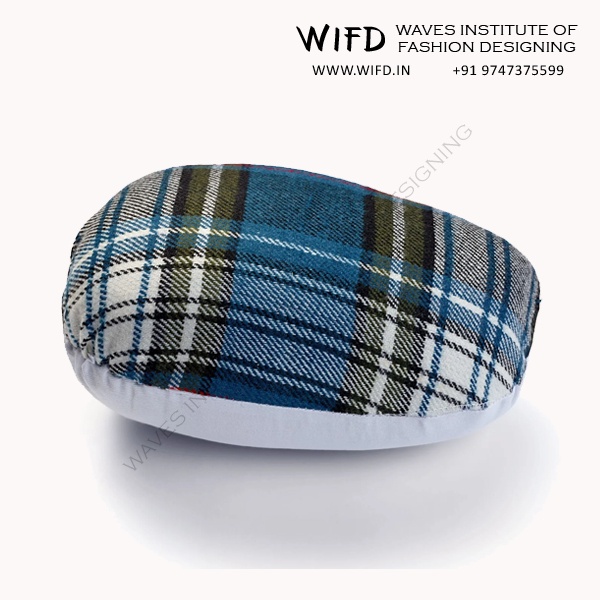
Tailor's Ham
A firm, rounded cushion that supports curved parts of a garment while pressing. It helps maintain the shape of darts, collars and armholes.
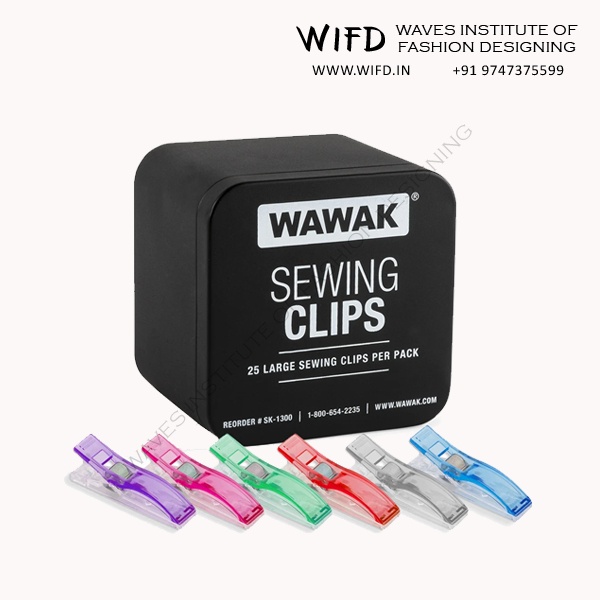
Fabric Clips
Small, strong clips that hold layers of fabric together. They are especially useful for thick or delicate materials that pins might damage.
How Quality Tools Transform your Sewing Experience
When you invest in appropriate sewing equipment, you're not just buying tools - you are investing in your success, creativity and enjoyment. Quality tools provide:
- Precision and Accuracy - Sharp cutting tools create clean edges that sew together beautifully. Accurate measuring instruments ensure your patterns fit perfectly the first time. Proper marking tools help you transfer design details without guesswork.
- Efficiency and Speed - The right tool for each task cuts your project time significantly. Professional-grade shears glide through multiple fabric layers, while specialized tools like seam rippers and thread snips handle detail work quickly and safely.
- Professional Results - Quality tools are designed to help you achieve consistent, professional-looking results regardless of your skill level. They compensate for inexperience and enhance the work of seasoned sewers.
- Long-term Value - While quality tools require a higher initial investment, they last for decades with proper care. Many professional seamstresses still use scissors and rulers purchased at the beginning of their careers.
Care for Scissors & Shears
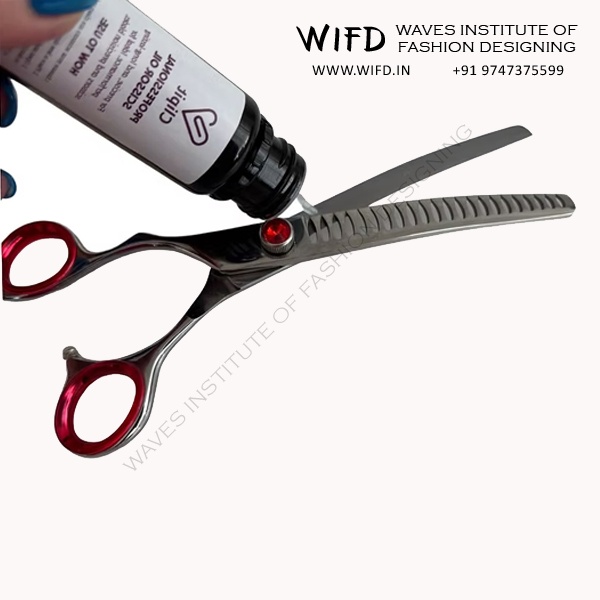
Sewing Shears and Scissors are the most essential tool for a tailor. Consistent use of scissors can eventually lose its sharpness. It is very important that we make sure, both scissors and shears are well taken care of. It is always a great challenge to keep the tips pointed and the blades sharp. We should always make sure that we use them properly.
Here are few tips to keep your scissors and shears sharp and ready for use...
- Avoid cutting very heavy fabrics like canvas.
- Avoid cutting multiple layers of cloth together.
- For a better performance, put a few drops of oil every 2-3 days to the parts where the blades are fastened together.
- Avoid Falls and Drops: Dropping scissors can cause the blades to lose alignment.
- Try to cut heavy fabrics using the part where the blade separates, as using tips could cause misalignment.
- Never cut paper or any other material other than fabrics, as not to lose the sharpness of the blades.
- Keep it away from moisture and water.
- Always wipe the shears after use to keep the blades free from lint (short, fine fibres which are separated from the surface of cloth).
Keeping your Tools Sharp & Ready
Clean your sewing tools after every use. Wipe away dust, lint and loose threads so they last longer. Store scissors, needles and pins in dry containers to prevent rust. Sharpen cutting tools regularly for smooth, neat work. Oil moving parts of
machines to keep them running quietly.
Over time, sewing tools have changed a lot. Old heavy irons turned into light steam models. Wooden rulers made way for flexible plastic ones. Hand-crank machines evolved into electric and computerised versions. These changes make sewing faster, easier and more accurate, while still needing the same care to keep them in top shape
The right sewing tools make every stitch easier and neater. When you choose good equipment and take care of it, your work looks better and lasts longer. Keep your tools clean, store them properly replace them when they wear out. With the right set in hand, you can sew with
comfort, speed and confidence.
FAQ about Sewing Equipment & Tools
1. What tools should I keep in a beginner sewing kit?
Fabric scissors, small thread snips, seam ripper, hand needles, measuring tape in inches and centimetres, tailor's chalk or pen, pins, pin cushion, ruler or L-square and a steam iron. Add a cutting mat and rotary cutter when needed.
2. Should I use inches or centimetres?
Pick tools with both. Many use centimetres in classes, but inches are still common in tailoring shops.
3. What is the use of a ruler, L-square and T-square?
Ruler for straight lines, L-square for right angles, T-square for long lines at 90 degrees.
4. How do I keep scissors sharp in monsoon?
Wipe after use, add a drop of oil at the joint, store dry with silica gel and never cut paper.
5. Can I use imported electric tools in India?
Yes, if they support 220-240 V and have the right plug. Avoid loose adapters.
6. Do I need a steam iron?
Steam is faster for cotton and linen. A dry iron works if you use a spray bottle.
7. Are heat-erasable pens safe for all fabrics?
Not always. Test on a scrap first.
8. How do I stop chalk from smudging in humid weather?
Use wax chalk, store in an airtight box and mark lightly.
9. Which thread works best in India?
Polyester handles humidity well. Use cotton thread when you need
natural fibre.
10. Should I use pins or clips?
Pins for fine fabrics. Clips for thick or coated fabrics.
11. How do I choose a dress form size?
Match bust, waist and hip. Pad where needed. Adjustable forms fit more sizes.
12. When should I replace scissors or rotary blades?
Replace when fabric frays or cutting feels hard.
13. How do I throw away old needles and blades?
Put them in a thick bottle or tin, tape it shut and label it as sharp waste.
14. What is a simple pressing setup for a small home?
Steam iron, small ironing board, pressing cloth, tailor's ham and sleeve board.
Zipper foot, buttonhole foot, overcast foot and walking foot.
16. Why do my measurements keep changing?
Using mixed units, stretched tapes or wrong posture. Stand straight and use one unit.
17. How do I stop tools from rusting near the coast?
Oil lightly, store in dry boxes and use silica gel.
18. How do I mark black fabrics?
Use white chalk, silver pen or tailor's tacks.
19. Can I cut patterns with office scissors?
No. Use separate paper scissors.
20. What beginner mistakes damage tools?
Cutting paper with fabric scissors, dropping them and storing pins damp.
21. Are magnet trays safe for pins?
Yes, but keep away from electronics.
22. Should I use pinking shears or
zigzag stitch?
Pinking shears for light fabrics. Zigzag for strong seams.
23. What tools are good for hostel students?
Foldable scissors, small snips, seam ripper, hand needles, tape, chalk pencil, few pins and travel iron.
24. My ruler and tape show different results. Why?
Cheap tools may have wrong markings. Use quality dual-scale tools.
25. How do I organise sewing tools?
Use a pegboard, divided drawer or labelled boxes.
26. How often should I change needles?
Hand needles when bent or rough. Machine needles every 6-8 hours of sewing.
27. Do I need surge protectors for irons?
Yes. Use one to protect against voltage changes.
28. What should be in a marking kit?
White chalk,
yellow chalk, heat pen, water pen and hera marker.
29. Why does my seam ripper tear fabric?
It is blunt or too big. Replace and cut from the bobbin side.
30. How can I make my toolkit eco-friendly?
Buy long-life tools, refillable chalk pencils, metal items and reuse scraps.



 CONTACT USWaves Institute of Fashion Designing,